Monitor Arm Clamp on a Rounded Desk Edge: Fixes That Work
Clamping a Monitor Arm on a Rounded Desk Edge: What Actually Works
Why a monitor arm clamp slips on rounded, bullnose or bevelled desk edges, how much flat contact it needs, and the wood-block and grommet fixes that hold.
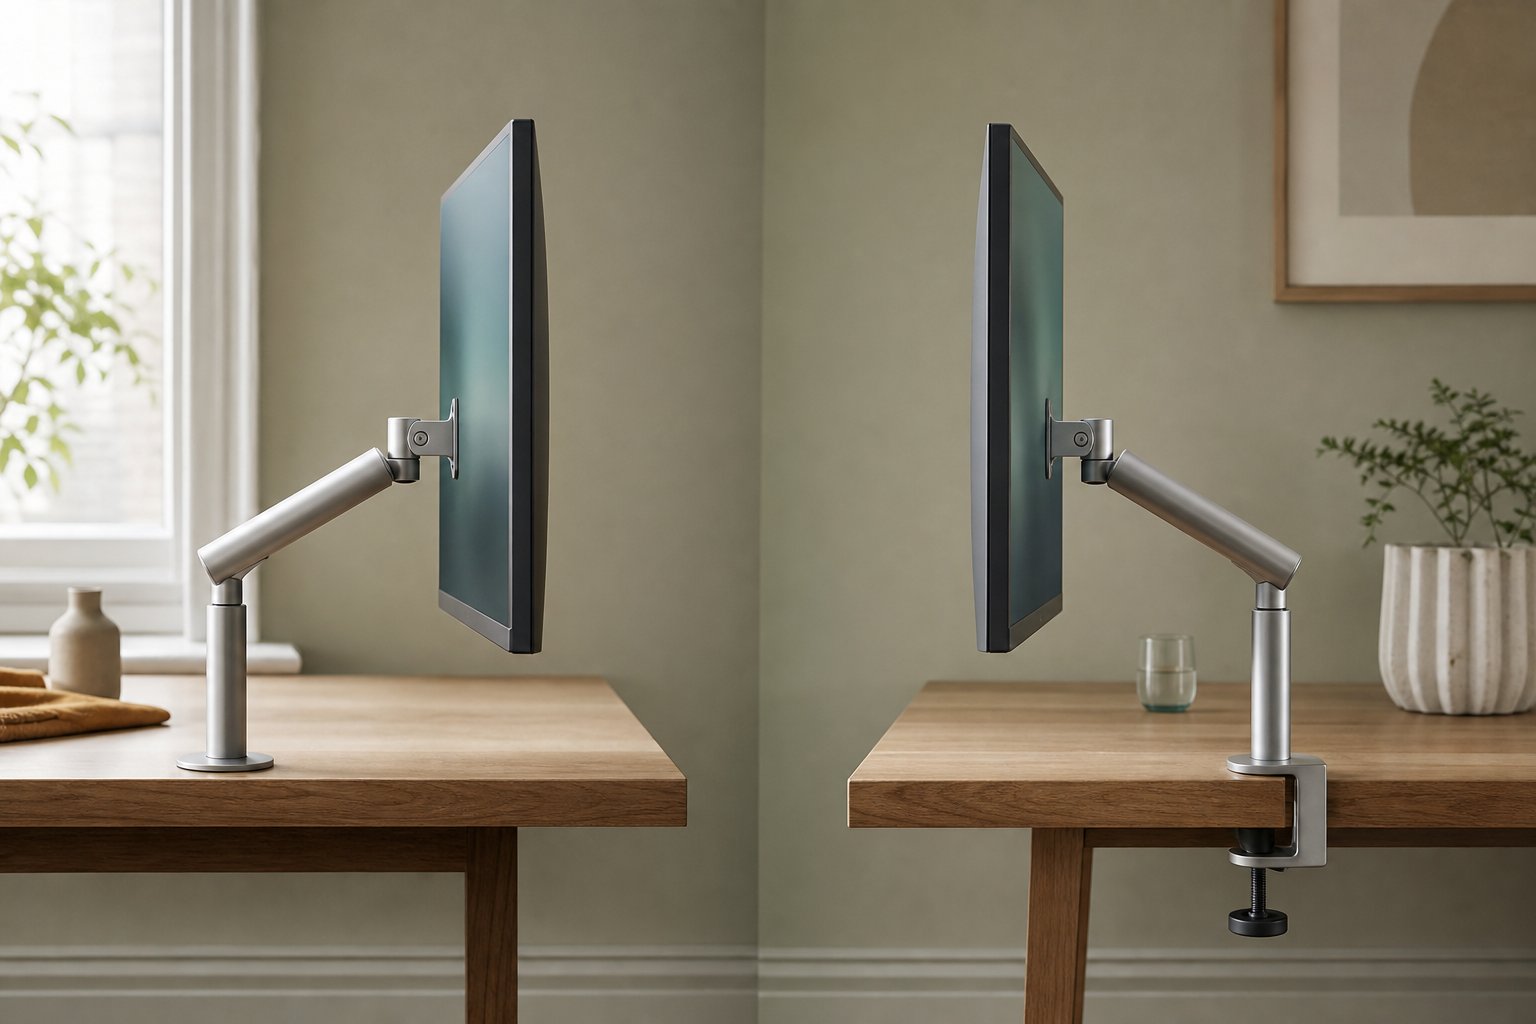
A monitor arm clamp needs two flat, parallel surfaces to grip, so a rounded, bullnose or bevelled desk edge gives it only a thin line of contact — the clamp slips, twists and dents the edge long before it feels solid. The fixes, in order: clamp a flat section elsewhere on the desk, bridge the curve with a solid hardwood block, or skip the edge entirely and use the grommet fixing through a drilled hole.
Why a clamp needs two parallel faces
A C-clamp is a friction device, nothing more. Turning the screw presses a pad flat against the top of the desk and a foot flat against the underside, and the grip that holds several kilograms of monitor comes from that even, face-to-face pressure. The geometry only works when both surfaces are flat and parallel to one another; every clamp is machined on the quiet assumption of a plain, square desk edge.
Profile the edge and the assumption collapses. Eureka Ergonomic’s desk compatibility guide describes the result on bevelled, rounded and bullnose edges: the flat contact area shrinks dramatically, and the entire clamping force concentrates on a very small point instead of spreading across the pads — a frequent cause of both wobbly monitors and dented, split desktops. Atdec, itself a mounting manufacturer, is just as blunt about bevelled desks: with less surface to bite, a clamped arm may never hold the screen securely, however hard you tighten it.
What happens on a curve: point contact, slipping, marking
Rest a flat pad on a curved surface and it touches along one thin line — the tangent — rather than across its face. Three things follow, and they match the symptoms KTC’s support guide lists for profiled edges. First, instability: the arm twists when you adjust the screen and the base shifts whenever the desk is nudged, because a line of contact cannot resist rotation the way a full face can. Second, marking: all the pressure a pad would normally spread over its whole area is delivered along that line, so laminate crushes and veneer dents while the mount still feels loose. Third, slipping: on a curve, part of the clamping force is redirected sideways, so the pads tend to walk around the radius as you tighten, dragging across the finish.
The tempting response is more torque. Resist it — KTC makes the point that a bevelled or rounded edge is one of the most misleading cases going, because the thickness measurement can look perfect while the clamp still has nowhere flat to bite. The problem is geometry, not tightness, and overtightening just deepens the dents.
| Edge profile | What the clamp meets | Outlook |
|---|---|---|
| Square edge | Full flat contact, top and bottom | Ideal |
| Small roundover (2–3mm softening) | Flat faces with a softened corner | Usually fine |
| Bullnose (full half-round) | Curves where both pads should sit | Poor — bridge it or move |
| Bevel / chamfer | Angled flat, not parallel to the top | Poor — a matching wedge can fix it |
| Waterfall edge (top rolls over and down) | No flat top face near the edge at all | Clamp elsewhere, or grommet |
| Rear lip or under-desk rail | Foot cannot reach flat board | Block spanning the lip, or grommet |
How much flat area does a clamp actually need?
Field installers quoted in Eureka Ergonomic’s clamp-versus-grommet guide look for roughly 25–35mm of unobstructed, flat edge before trusting a C-clamp — and that means flat on both faces, because an apron rail, cable tray or moulded stiffening rib under the desk disqualifies the spot just as surely as a curve on top. Depth matters as well as width: the pads must sit fully on flat board, not perch half on the radius.
A gas-spring arm such as the Suptek arm illustrates the checklist: its C-clamp spans tops from 10mm to 80mm thick and carries 17–32 inch screens weighing 2–10 kg, and a grommet bolt ships in the same box for desks whose edges refuse to cooperate. Wherever the clamp ends up, keep it within about 10–15cm of where the arm’s pole will stand and close to the screen’s centreline, as Eureka’s guide recommends — a clamp exiled to a distant flat section adds leverage, and leverage shows up later as the shake we cover in our wobble troubleshooting guide.
The wood-block fix for lips, bevels and shallow curves
A thread on the Overclockers UK forums shows the classic lipped-desk failure: a narrow rear overhang left the clamp tilting backwards under load, loose timber packed into the gap achieved nothing, and the fix that stuck was solid wood fixed to the underside, overhanging the lip so the clamp’s foot finally landed on something flat. That is the pattern for every version of this repair.
- Use one solid block, never a stack. A single piece of hardwood or 18mm-plus plywood, cut clean. KTC specifically warns against improvised stacks of shims: the layers creep against each other and the joint loosens over weeks.
- Size it generously. Two to three times the clamp foot’s area spreads the pressure the way a reinforcement plate would, protecting chipboard desks into the bargain.
- Match the shape. For a rear lip, the block bridges from flat underside out past the lip. For a bevelled edge, cut a wedge at the same angle so the clamp once again sees parallel faces. For a bullnose, the block must bear on genuinely flat board behind the curve — if it rocks on the radius, it is not a fix.
- Fix it in place. Screws are best on a desk you own; strong double-sided tape does the job on one you don’t, and our renter-friendly mounting guide covers the no-drilling toolkit more fully.
- Re-tighten after a day or two, once pads and timber have settled, and glance at the edge for fresh marks.
When the grommet — or a different spot — rescues it
Before reaching for a drill, walk around the desk. Many tops only profile the front edge for comfort, leaving the back and sides square; Eureka’s advice is to use a flat, square section even when it is not the spot you would have chosen. A desk repositioned 100mm from the wall, or an arm clamped on a side edge, is a cheaper fix than any hardware.
If no flat edge exists — waterfall profiles are the usual culprit — the grommet fixing bypasses the edge entirely: a bolt through a hole in the desk, clamping flat face to flat face where the board is at its plainest. An existing cable-management hole may already take it. Drilling your own is a ten-minute job: Eureka’s guidance is to site the hole 60–80mm in from the edge and to back it with a steel plate or oversized washer on particleboard and MDF tops; drill through masking tape with a pilot hole first and laminate stays chip-free. The full decision, including when drilling is the wrong call, is in our grommet versus clamp guide — and if neither fixing suits, Atdec’s fallback list of freestanding and wall mounts is the honest next step, not a tighter screw.
Frequently asked questions
My desk edge has a small roundover — can I still clamp?
Usually, yes. A 2–3mm softened corner is cosmetic: the pads still seat on flat board either side of it. Check that you have around 25mm of genuine flat on both the top and the underside where the clamp sits, tighten to firm rather than furious, and inspect for movement after the first week. Our compatibility guide has the full pre-purchase checklist.
Will clamping on a rounded edge damage the desk?
Very likely, and before it ever feels secure. Line contact concentrates the whole clamping force onto a strip a few millimetres wide, so chipboard crushes and veneer dents at the pad corners — Eureka’s guide flags denting and splitting as the standard outcome. Because the pads also slide around the curve as you tighten, expect scuffed finish as well as dents.
The front of my desk is a waterfall curve but the back is square — where should the arm go?
On the square back edge, which is where most arms live anyway. Keep the clamp near the screen’s centreline, check the underside for rails or a modesty panel before you commit, and leave enough wall clearance for the arm to fold. The curved front then does what it was designed for: sparing your forearms, not fighting your clamp.