Monitor Arm Compatibility: VESA, Weight and Desk Fit
Monitor Arm Compatibility: Check VESA, Weight and Desk Fit
Check monitor arm compatibility in three steps: match the VESA pattern, use screen weight without the stand, and verify desk thickness, material and clamp clearance.
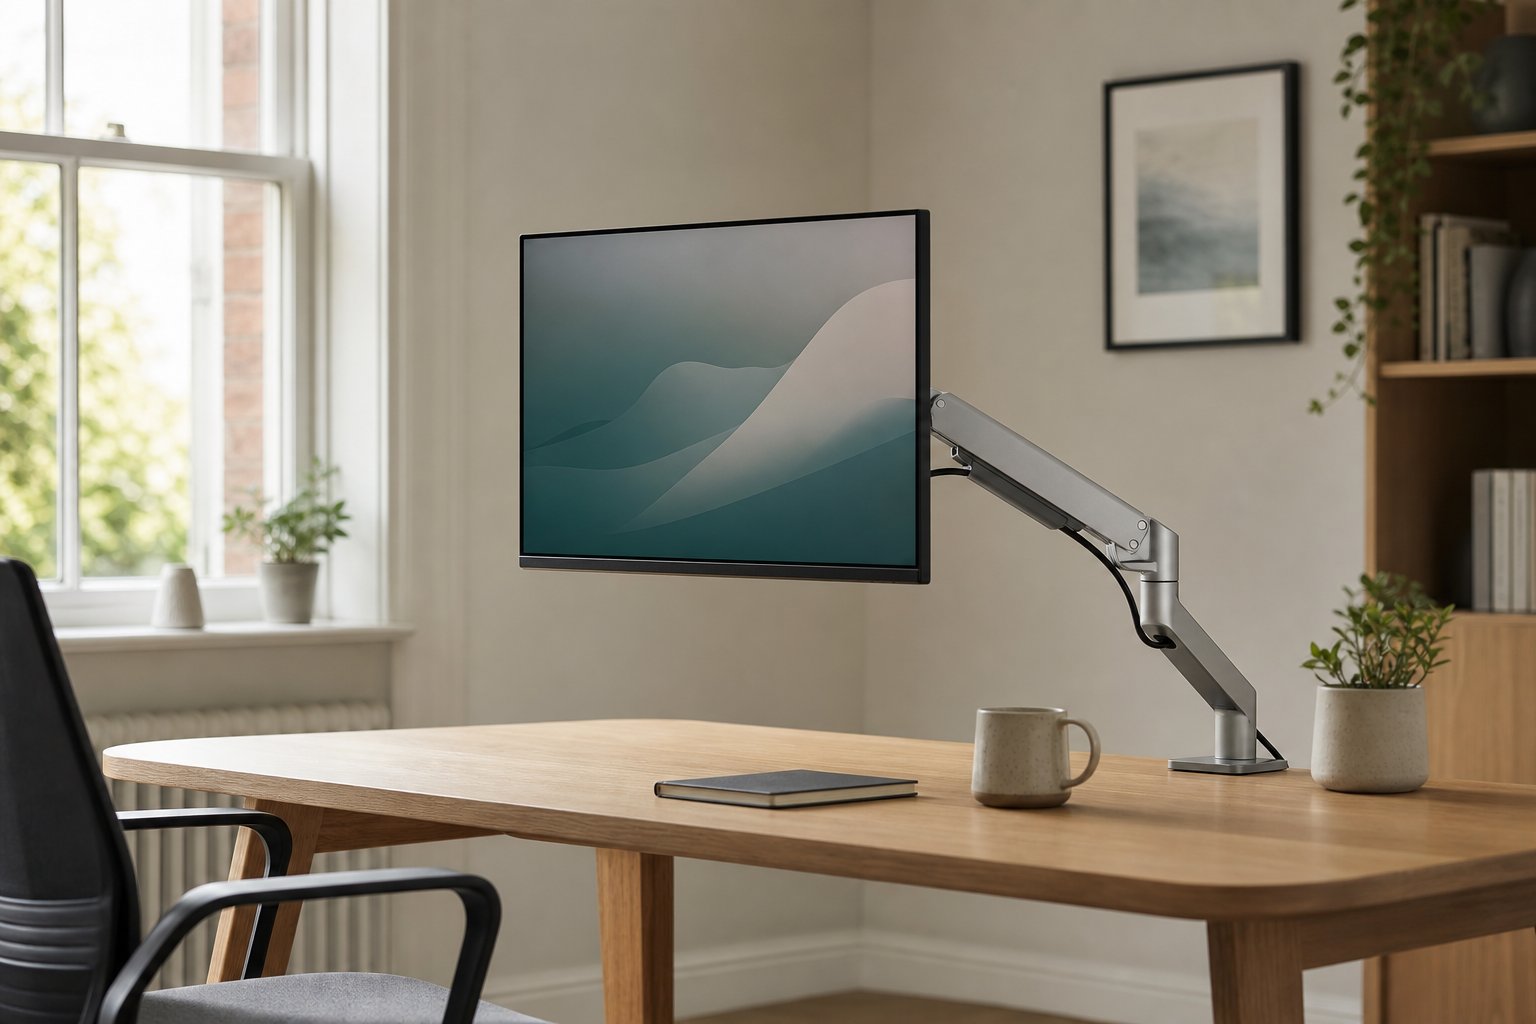
A monitor arm is compatible only when all three checks pass: the VESA hole pattern matches the plate, the screen’s net weight without its original stand falls inside the exact arm’s permitted per-arm load range, and the desk can accept the specified clamp or grommet mount. Screen size alone is not enough. Also check recessed holes, adapter approval, underside clearance and the usable movement range.
60-second monitor arm compatibility verdict
Treat compatibility as an AND test, not a list of alternatives:
- VESA fit: the monitor’s hole pattern, mounting recess, plate shape, spacers and screws must match what both manufacturers allow.
- Weight fit: the monitor’s net weight without its original stand must be inside the exact arm’s minimum and maximum supported range. For a multi-arm mount, use the stated limit for each arm.
- Mounting fit: the desk material, thickness, edge geometry, clamp or grommet range, flat contact area and underside clearance must all be suitable.
If any value is missing, conflicting or taken from a similar model, the result is not yet confirmed. Find the model number and the current monitor and arm manuals before fitting the screen.
| What you find | Verdict | What to do next |
|---|---|---|
| VESA pattern matches, net weight is inside the exact per-arm range, and the approved desk mount fits fully | Compatible on paper | Recheck the current manuals, cable reach and full movement envelope before installation |
| VESA holes are recessed or the plate touches the casing before reaching the holes | Conditional | Use only the spacer and screw arrangement approved for that monitor and arm |
| The monitor has no confirmed VESA interface | Conditional or incompatible | Check for a hidden mounting cover; otherwise use only an adapter approved for the exact screen, or keep the original stand |
| Net weight without the stand is unknown, or only shipping/gross weight is listed | Not confirmed | Obtain the monitor manufacturer’s net-weight specification |
| The screen is outside the exact arm’s minimum or maximum load, or a dual mount gives no clear per-arm limit | Incompatible | Do not infer a limit or divide a total rating; use an arm with documented support for the screen |
| A rear rail, cable tray, desk apron, drawer or bevel blocks the lower clamp plate or screw | Clamp incompatible at that position | Use another approved position or check whether the exact arm and desk permit grommet mounting |
| The desk is glass, hollow-core, damaged or made from an unverified composite | Not confirmed | Follow both manufacturers’ instructions; do not assume that thickness or a generic reinforcement plate makes it safe |
| A curved or ultrawide screen is inside the weight range but projects well forward of the VESA plate | Conditional | Confirm that the exact arm supports the screen’s depth, centre of gravity, tilt demand and required reach |
Check 1: match the VESA pattern and mounting geometry
VESA FDMI defines a standardised mechanical interface between a flat display and a mounting device. A matching pattern is necessary, but it does not prove that the arm can support the screen or that the desk can support the arm.
Start with the model code on the monitor’s rear label. Open the manufacturer’s specification page or manual and find the mounting pattern. If you measure it yourself, measure horizontally and vertically between the centres of the threaded holes in millimetres. Patterns such as 75 × 75 mm and 100 × 100 mm are common examples, but the exact monitor specification and arm plate must agree.
Recessed VESA holes, spacers and screw length
Four holes at the bottom of a recess are not the same as four missing holes. The recess may stop a broad VESA plate sitting flat against the intended mounting surface.
Do not pull the plate against a curved plastic case or improvise with any longer screw that reaches. Use only the spacer, washer and screw type and length allowed by the monitor and arm instructions. A screw that is too short may not engage correctly; one that is too long can bottom out before the plate is secure or damage the monitor. Stop if the approved hardware is missing or the two manuals conflict.
No VESA holes: when an adapter is acceptable
First check whether a cover or the original stand hides the mounting interface. Use the monitor manual rather than forcing off an unmarked panel.
If the monitor is genuinely non-VESA, an adapter is a separate load-bearing component, not a universal fix. It is acceptable only when its manufacturer explicitly supports the exact monitor or its documented dimensions, shape and net weight, and when the adapter’s output pattern matches the arm. Include the adapter’s own weight when checking the arm’s load range.
An edge-gripping adapter must not obstruct controls, ports, ventilation or the visible panel, and it must retain the screen through the arm’s full tilt and rotation range. Curved, tapered, frameless or unusually thin housings may not offer a safe gripping surface. If the fit depends on bending clips, compressing the display or relying on an unlisted adhesive, keep the original stand or obtain a model-specific mounting solution.
Check 2: use net weight without the stand and the per-arm limit
Use the monitor manufacturer’s net weight without its original stand. It may be labelled “weight without stand”, “panel weight” or “net weight (without base)”. Do not use shipping weight, packaged/gross weight or the weight including the desktop base.
Then read the permitted load range for the exact arm SKU. Check both ends:
- a screen above the maximum can overload the joints, spring or mounting system;
- a screen below the minimum on a counterbalanced arm may rise or fail to hold its set position; and
- a dual or multi-arm product must state the allowed load per arm. Do not divide a total figure or transfer a limit from a related model.
The monitor and arm documents must identify the same configuration. Accessories attached to the moving head—such as a non-VESA adapter, camera shelf or soundbar bracket—add load and can move the centre of gravity. Include them only as the relevant manufacturers instruct.
Curved and ultrawide screens need a geometry check
A curved or deep ultrawide may place its centre of gravity farther forward from the VESA plate than a flatter screen. That increases leverage on the tilt joint and arm when extended even though the scale weight has not changed. Screen diagonal and net weight therefore cannot settle the question by themselves.
Check the screen’s overall depth without its stand, the VESA position, the arm manufacturer’s curved/ultrawide guidance, the usable tilt and reach, and whether the screen clears the wall, desk and neighbouring display throughout movement. If the exact arm documentation gives no answer for that geometry, treat the result as conditional and ask the manufacturer rather than inventing a safety margin.
Check 3: verify desk, clamp or grommet fit and range
Use only a mounting method listed for the exact arm. A clamp range or grommet range from another product—even one that looks identical—is not evidence for yours.
Clamp fit: inspect above and below the desk
Measure the desk at the exact mounting point, not at the front edge. The clamp must fall inside the arm’s documented desk-thickness range and both contact pads must sit fully on flat, sound material.
Look underneath before deciding:
- Is there enough underside clearance for the lower plate, screw, handle and the path needed to tighten it?
- Does a rear rail, metal frame, cable tray, desk apron, drawer or control box block the clamp?
- Is the rear edge bevelled, rounded or lipped so either pad would make only partial contact?
- Is there enough edge depth for the clamp throat, rather than only enough jaw opening?
- Can the arm rotate and extend without its base, cables or screen striking a wall or shelf?
A clamp that opens wide enough can still be incompatible if the lower plate lands on a rail, the top pad bridges a weak edge or the screw cannot be tightened squarely.
Grommet fit: a separate specification
Grommet mounting is not simply “put the clamp bolt through any hole”. Confirm that the exact arm includes or permits a grommet assembly. Check its required hole range, desk-thickness range, upper and lower plate arrangement, tightening access and permitted desk material.
An existing cable opening may be unsuitable if it is too large, too close to an edge, surrounded by unsupported material or occupied by cables that would be crushed. Do not drill until the desk manufacturer and arm instructions permit the location and you have checked for hidden hardware or services. A grommet can bypass an obstructed edge, but it does not make a weak or damaged desktop structurally sound.
Desk material is a manufacturer decision
Thickness alone cannot prove that glass, hollow-core board, chipboard, MDF, stone or a damaged desktop can accept a concentrated clamp load. Do not apply a universal material threshold or assume a generic reinforcement plate solves every case. Use the desk and arm manufacturers’ conditions. If either source excludes the material—or neither gives enough information—choose a supported mounting surface or seek competent advice.
Clamp, grommet or wall mount?
| Mounting route | Use it only when | Stop or choose another route when |
|---|---|---|
| Desk clamp | The exact arm permits a clamp; desk thickness and material are allowed; both pads have full, flat contact; the underside and movement path are clear | A rail, tray, bevel or weak edge prevents full contact, or the desk manufacturer excludes concentrated clamp loads |
| Desk grommet | The exact arm permits its grommet kit; the hole, plates, thickness, material and tightening access all meet the manual | The hole or desktop is unsupported, too close to an edge, obstructed, or requires unapproved drilling |
| Wall mount | The exact wall arm matches VESA and net weight, and its wall plate, fixings and permitted substrate have been assessed for the actual wall | Wall construction, concealed services, fixings or load path are uncertain; use a competent installer |
This article checks compatibility; it is not a wall-installation procedure. If you are comparing mounting types, use the relevant manufacturer manuals and assess the complete support path before drilling or loading a desk.
Five-minute pre-purchase checklist
- [ ] Record the exact monitor model and exact arm SKU; do not rely on a product-family name.
- [ ] Confirm the monitor’s VESA pattern from its current specification or manual.
- [ ] Check whether the holes are hidden, recessed or need an approved adapter.
- [ ] Confirm the approved spacer and screw arrangement; do not guess screw length.
- [ ] Record the monitor’s net weight without its original stand.
- [ ] Confirm that weight falls within the exact arm’s minimum and maximum per-arm range.
- [ ] Add only accessories that the relevant documentation allows, including an adapter’s weight.
- [ ] For a curved or ultrawide screen, check depth, centre of gravity, tilt demand and movement clearance.
- [ ] Confirm the exact clamp or grommet method and its documented desk-thickness/material range.
- [ ] Inspect the mounting point above and below for flat contact, edge depth, rails, trays, drawers and tightening access.
- [ ] Check the full movement path and leave enough cable slack without trapping or pulling connectors.
- [ ] Stop if a model, value, mounting condition or supporting surface cannot be verified.
Frequently asked questions
Does monitor weight include the stand?
No. For an arm check, use the monitor manufacturer’s net weight without the original desktop stand. Do not use packaged shipping weight, gross weight or the weight including the base. If the manufacturer does not publish a without-stand figure, ask for it rather than estimating.
Can screen size alone tell me whether a monitor arm fits?
No. Screen size is only a rough shopping filter. Compatibility requires a matching VESA interface, net weight inside the exact arm’s permitted per-arm range, suitable screen depth and geometry, and a desk or wall mounting method that meets the relevant instructions.
What if the VESA holes are recessed?
Confirm that the holes are mounting points in the monitor manual, then use only the approved spacers, washers and screw type and length. The plate must sit as the instructions show without being pulled against sloping plastic. Stop if the hardware is missing or the monitor and arm instructions conflict.
Can I use an adapter on a non-VESA monitor?
Only if the adapter explicitly supports the exact monitor or its documented dimensions, casing shape and net weight, and its output pattern matches the arm. Include the adapter’s weight in the arm check. Do not use it if it blocks ventilation or controls, grips an unsuitable curved or frameless edge, or depends on unapproved adhesive or force.
Will a clamp fit if my desk has a rear rail or cable tray?
Not necessarily. The clamp needs full, flat contact above and below plus clearance for its lower plate, screw, handle and tightening path. A rear rail, tray, apron, drawer, bevel or shallow overhang can make the clamp incompatible even when desk thickness is inside the stated range.
Can I clamp a monitor arm to glass or hollow-core furniture?
Only when both the furniture and exact arm manufacturers explicitly permit that material and mounting arrangement. Thickness alone, a generic pad or an unverified reinforcement plate is not proof. If the construction or load path is uncertain, do not clamp there.
Sources and evidence limits
- VESA, FDMI Overview — explains the standardised mechanical interface between flat displays and mounting devices. It is not a certificate or load specification for a SUPTEK product. Accessed 19 July 2026.
- Atdec, How to measure overall curved monitor depth — supports using monitor weight without the original stand and considering display depth when selecting an exact arm. It does not provide a SUPTEK load rating. Accessed 19 July 2026.
- BenQ UK, 10 things to consider when buying a monitor arm — supports checking monitor weight, VESA, desk thickness and desk material before installation. It is general purchasing guidance, not a SUPTEK SKU manual. Accessed 19 July 2026.
No exact SUPTEK SKU and original manual were available for this revision. For that reason, this guide does not publish a SUPTEK load, screen-size or desk-thickness range and does not include a product purchase call to action. Manufacturer pages are used to define the checking method, not to claim that a particular SUPTEK model passed it.
Related guides
- Review the different support-path questions in the wall-mounted monitor arm guide.
- For two screens, check both panels and the shared desk load before using the dual monitor arm guide.