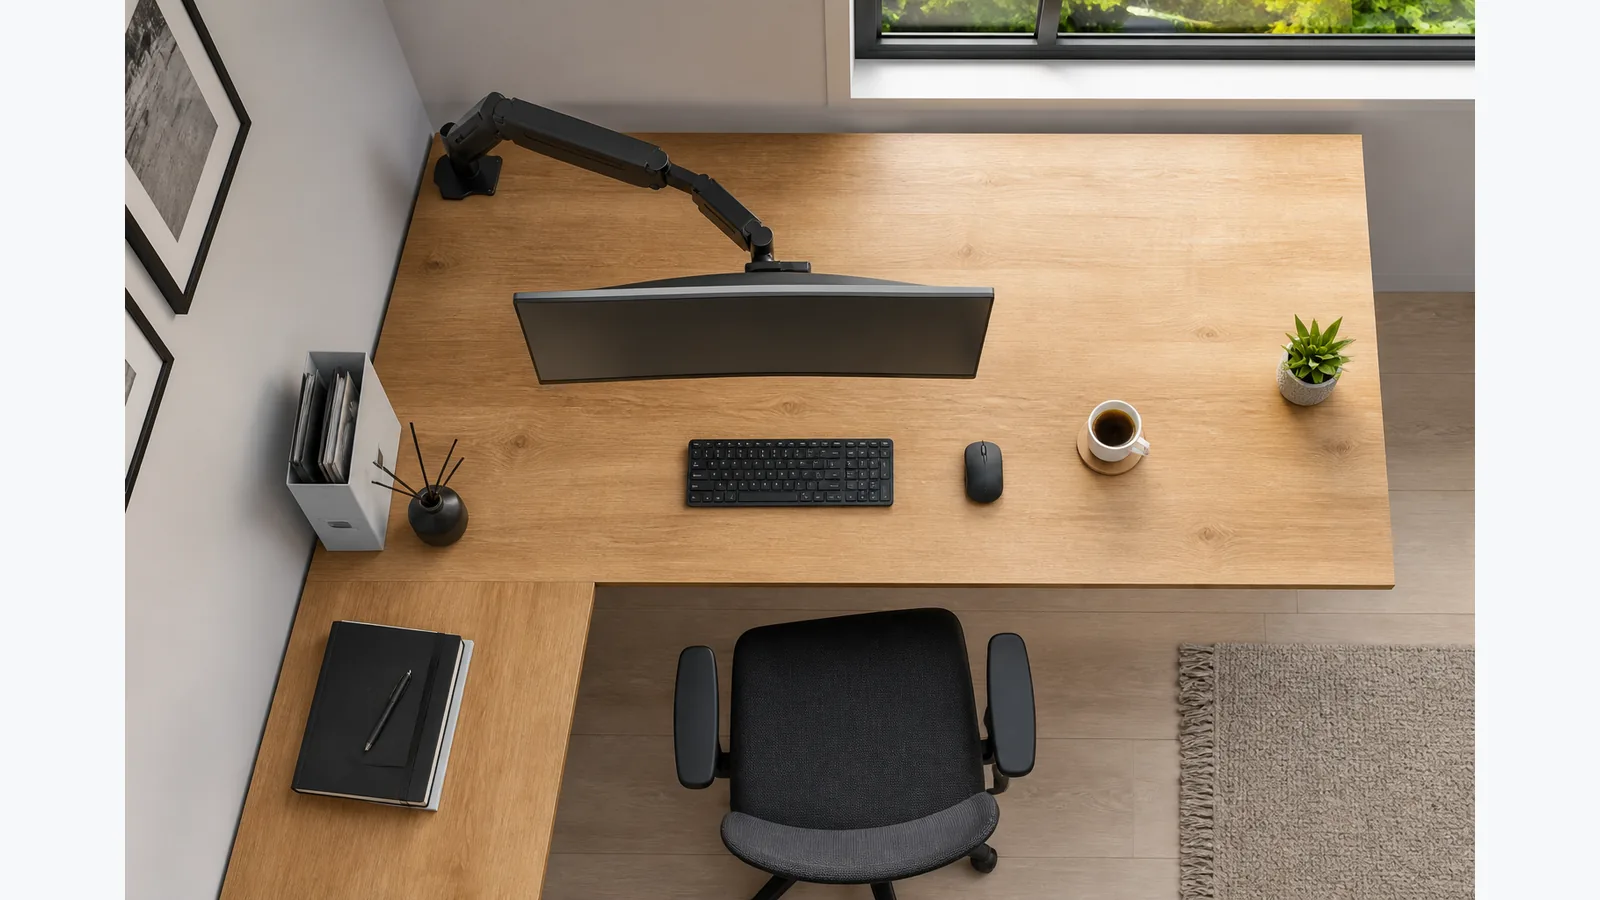
Monitor arm for L shaped desk: choose the seat line before the clamp point
If you are choosing a monitor arm for L shaped desk use, start with where you sit rather than where the furniture joins. Put the screen and keyboard in front of the chair first, then check whether the arm can reach that position without forcing the monitor into the wrong place or into the wall.
Choose which desk wing is the primary work surface
On an L-shaped desk, decide which wing is the real work area for everyday use. That is the side where the keyboard, mouse and monitor should end up, while the other wing can stay available for notes, storage or a laptop dock.
For L-shaped desks, BenQ's monitor arm buying guide says to check arm length and whether the monitor can be positioned correctly before you buy.
Centre the screen and keyboard on the user rather than the furniture seam
HSE's good posture guidance says to keep the screen and keyboard central, with the computer screen directly in front of you. On a corner desk, that means using your chair as the reference point and treating the seam between desk wings as secondary.
If the chair points one way but the screen lands on the angle between the two wings, the setup is usually working against you. Move the monitor so your head, keyboard and pointer device all line up with the same seated position.
Test reach and wall clearance with a cardboard screen footprint
A simple fit check
Before buying, make a cardboard cut-out roughly the size of your monitor and move it through the position you want to use. This helps you see whether the screen lands in front of the seat, clears the wall and still sits where you expect when the arm swings.
Do not assume the corner will give you enough space. Measure the route the arm needs to travel, not just the width of the desk wing, and confirm the screen can sit comfortably at the viewing point you want.
Inspect the chosen edge above and below
Check the top edge you plan to clamp or pass through, and also look underneath for braces, cable trays, drawers or other obstacles. The mount needs a clear edge, and the back of the desk needs enough open space for the arm to sit without fouling the furniture.
If the edge is rounded, crowded or unusually thick, test the exact spot before you commit. A quick dry run is better than finding out after unpacking that the mount cannot sit where you planned.
Plan a cable service loop through the full movement arc
Leave enough slack in the cables for the screen to move through its full range without pulling tight. The goal is a gentle service loop that still works when you raise, lower, swivel or rotate the monitor.
Keep the cables routed so they do not snag on the desk seam, the wall or the edge hardware. If the arm moves freely but the cables fight the motion, the setup will feel awkward to use.
Use the M252 CTA only when its verified weight, VESA and desk fit all pass
If your measurements check out, the current product details for the M252 are the final place to confirm fit before you buy. It is a single-monitor arm with height and rotation adjustment and 75 x 75 mm / 100 x 100 mm VESA support, so use it only when your monitor and desk measurements already match the setup you need.
In practice, that means checking the monitor's mounting pattern, confirming the desk edge or grommet position will work, and making sure the arm can reach your chosen seat line. If any of those points fail, keep measuring rather than forcing the purchase.